“Buy now, pay later” feature called GGives was launched by GCash on Wednesday, March 10, where it offers qualified users a 24-gives payment term within 12 months to shop their favorite items as much as P30,000.
According to GCash president and CEO Martha Sazon, “GCash’s new lending features, such as GGives and GLoan, are tailor-made for Filipinos’ purchasing behaviors, such as installment pay or hulugan. This is because it allows them to have enough freedom to maximize their money while still getting to enjoy what they want and need.”
Read: How to earn money in GCash (5 ways)
Meanwhile, if you are scheming to use this feature, you must be informed beforehand about what is this feature all about, who is eligible and how you can register for GGives. You don’t want to enter a strife without proper arsenal, right?
What is GGives?
GGives is a GCash installment loan product that is simple and quick to use. When you shop at your favorite GGives partner merchants, you can get what you want today and pay over time with their light and flexible installment plans that will match your budget.
Am I eligible for GGives?
If you possess the minimum qualifications below, then you can start using the GGives feature.
- Must be 21 to 65 years old.
- Must be a Filipino national.
- Must have a fully verified GCash account.
- Must have a good credit record and did not commit any fraudulent transactions.
- Must be subjected to credit risk rules and policies.
- Must maintain a good GScore. (GScore requirements for GGives may differ per GCash customer.)
Why is GGives unavailable for me?
If GGives is not available for you, it may be due to various reasons including:
- You do not meet GGives minimum eligibility requirements.
- GGives is not yet available for your account.
- You must have 1 GGives account at a time.
How can I register for GGives?
Upon knowing that you are eligible, you may now register for GGives through your GCash app. You can follow the steps we have provided below for your reference.
Steps in GGives registration:
Step 1: Go to your GCash app and enter your 4-digit MPIN.
Step 2: On the GCash Home screen, you will see several features of GCash, click “View all GCash Services” just beneath it to view the other services of GCash.
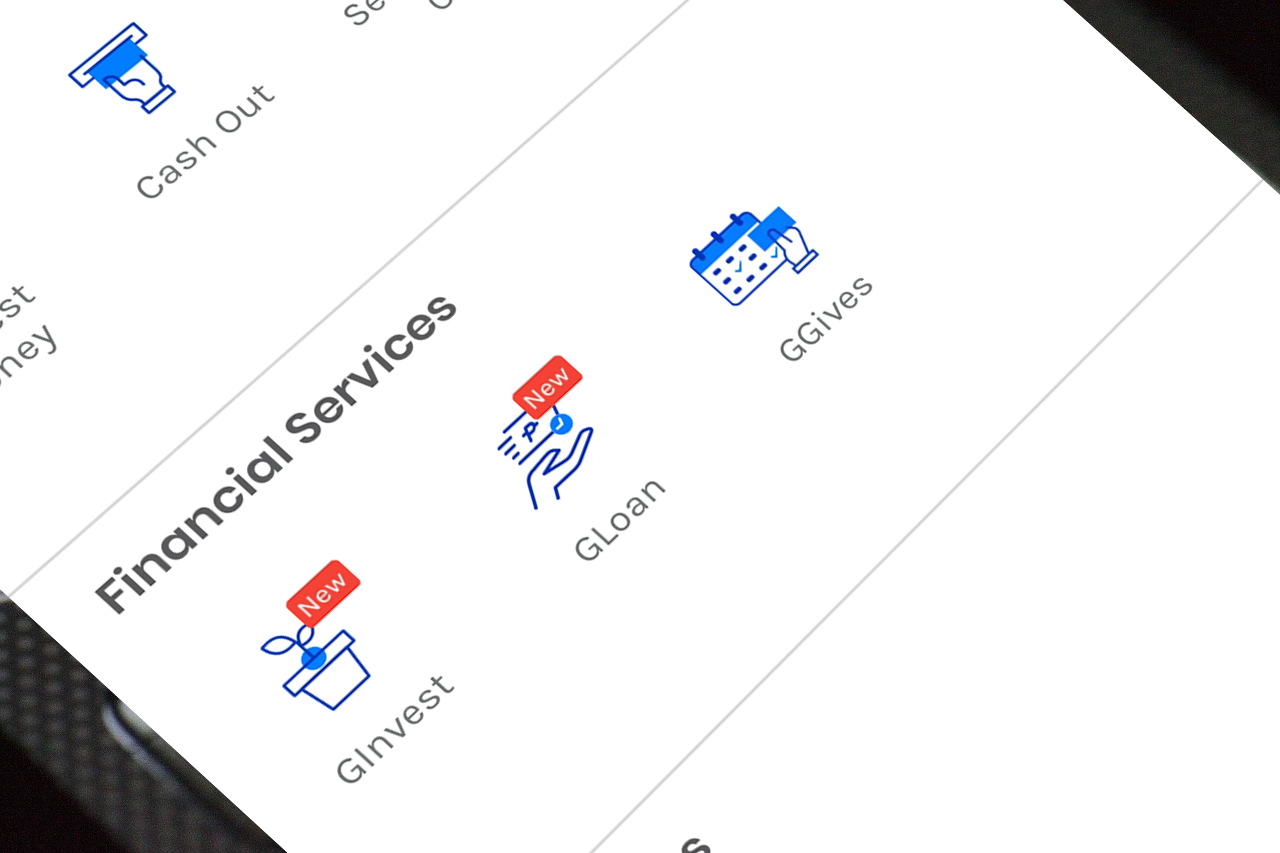
Step 3: Scroll down a little, under “Financial Services” tap GGives.
Step 4: Your Personal information has been pre-filled so all you have to do is read over them then press “Next”.
TIP: If you want to change your pre-filled information, just press the “User Profile”. You may also want to check the confirmation page to know how long will it take to update your personal information.
Step 5: Proceed with your other information then click “Next”.
NOTES:
- You must add your mobile or landline numbers so GCash can easily contact you. But you can leave this portion blank if you don’t have either of the two.
- If you have a registered small business or if you are an informal seller, you are considered to own a small business.
- For an emergency contact, it is recommended to place someone you trust and can be contacted easily as your representative in case you are not available.
Step 6: Read over your GGives application. You must check the boxes to agree to the terms and conditions as well as the privacy agreement then press Activate my GGives.
TIPS:
- Please make sure that the information you provided in steps 4 and 5 is similar to this part of your application.
- You can, however, change your information by clicking the arrow on the upper left-hand portion of your screen.
Step 7: You will see a confirmation on your screen which says “GGives Application Succesful!”. Now, you can press the “Back to GCash Dashboard” to start using GGives.”
Read Also:
- How to verify a GCash account using Student ID (Two Options)
- How to transfer funds from PayPal to GCash

